Showing posts with label birthday party ideas. Show all posts

Wednesday, February 8, 2012

Whatever Wednesday - Wii Party Ideas

My stepson wanted a birthday party this year, so we agreed to host it at our house. (long story) He told me he wanted a Wii party this year. I have to say I am inexperienced at hosting boy parties unless they are two or younger. So I thought I have Follow Me on Pinterest this is going to be easy, until I realized this is not a real popular party idea. I searched on Follow Me on Pinterest, Googled and used Swagbucks to search for Wii party ideas.

Since my theme was Wii. I also wanted to pick a color theme to tie some of my random ideas together. I chose blue and green, since this was a boys party.


Here are some of the decorations and things I designed for the party


Wii Party Ideas


These are the tags I designed to have another gift favor from his party. They all thought they were cool. I don’t have a color printer, so these were black and white. I covered his name to protect his identity.

I made mustache straws. The boys got a kick out of that. The mustache was for Mario and they are all the rage now, so I thought it would be funny. They took the mustaches off the straws and started wearing them. 


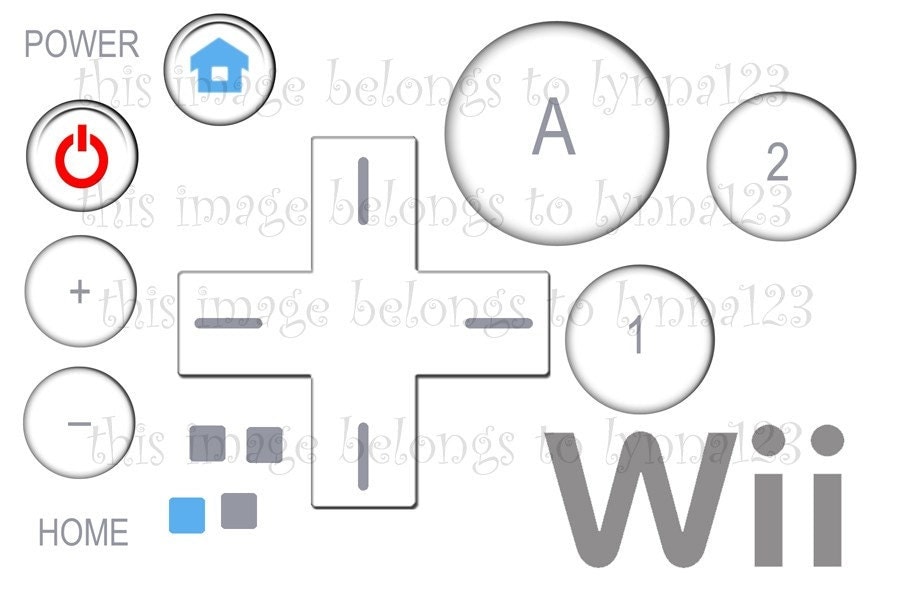
I wanted to make something fun for them to do. I had some long paper and cut it in half to look like a Wiimote and used this print out. They were to make a Wiimote without looking. I thought this might be fun; however, this did not go over well with this age group. Maybe a younger crowd would enjoy it.


It is my new tradition every kid gets their own birthday banner. His name is wrapped around the other side. I chose not to show it in order to protect his identity. Not to toot my own horn, but I am getting pretty good at making these. I used scrapbook paper and cut out a million triangles in different colors and plan out the pattern. I used the Paper Bunting Template and to get five triangles per standard 12X12 sheet of scrapbook paper. Then I sewed them together using bias tape. Yes you can sew paper and it is super easy.


I found this fabulous free 3D Wiimote favor box download. I cut out and put together and glued, with help from the birthday boy.


I only needed to make five, so this was doable. Once put together. I stuffed it with 1 bag of M&M’s and one fun size Twix. What do you think? The boys loved them.


We also had those fabulous Homemade Pizza Rolls I blogged about last week. These were so good. I forgot to take a picture of them baked before they were devoured.


I thought it would be fun to place the cookies on skewers and have them in a vase sticking up. This is not the best idea to have boys running around the house with sharp objects acting like they are mini swords. So I had to police as the cookies were eaten, to make sure I got the mini swords, I mean skewers back. I used an old oatmeal container and wrapped it with scrapbooking paper, that matched the banner, to cover it completely. I put a package of black beans to weight it down and stuck the cookie pops in at random places.


The Wiimote cake turned out fabulous. I have an unwritten agreement with my neighbor. I bake and ice the cake, and she decorates it for me. She has all the awesome frosting tips and gadgets to decorate a cake. In return I give her coupons and share good deals with her. Fair trade I think.

I will post instructions on how make this fabulous cake next week.

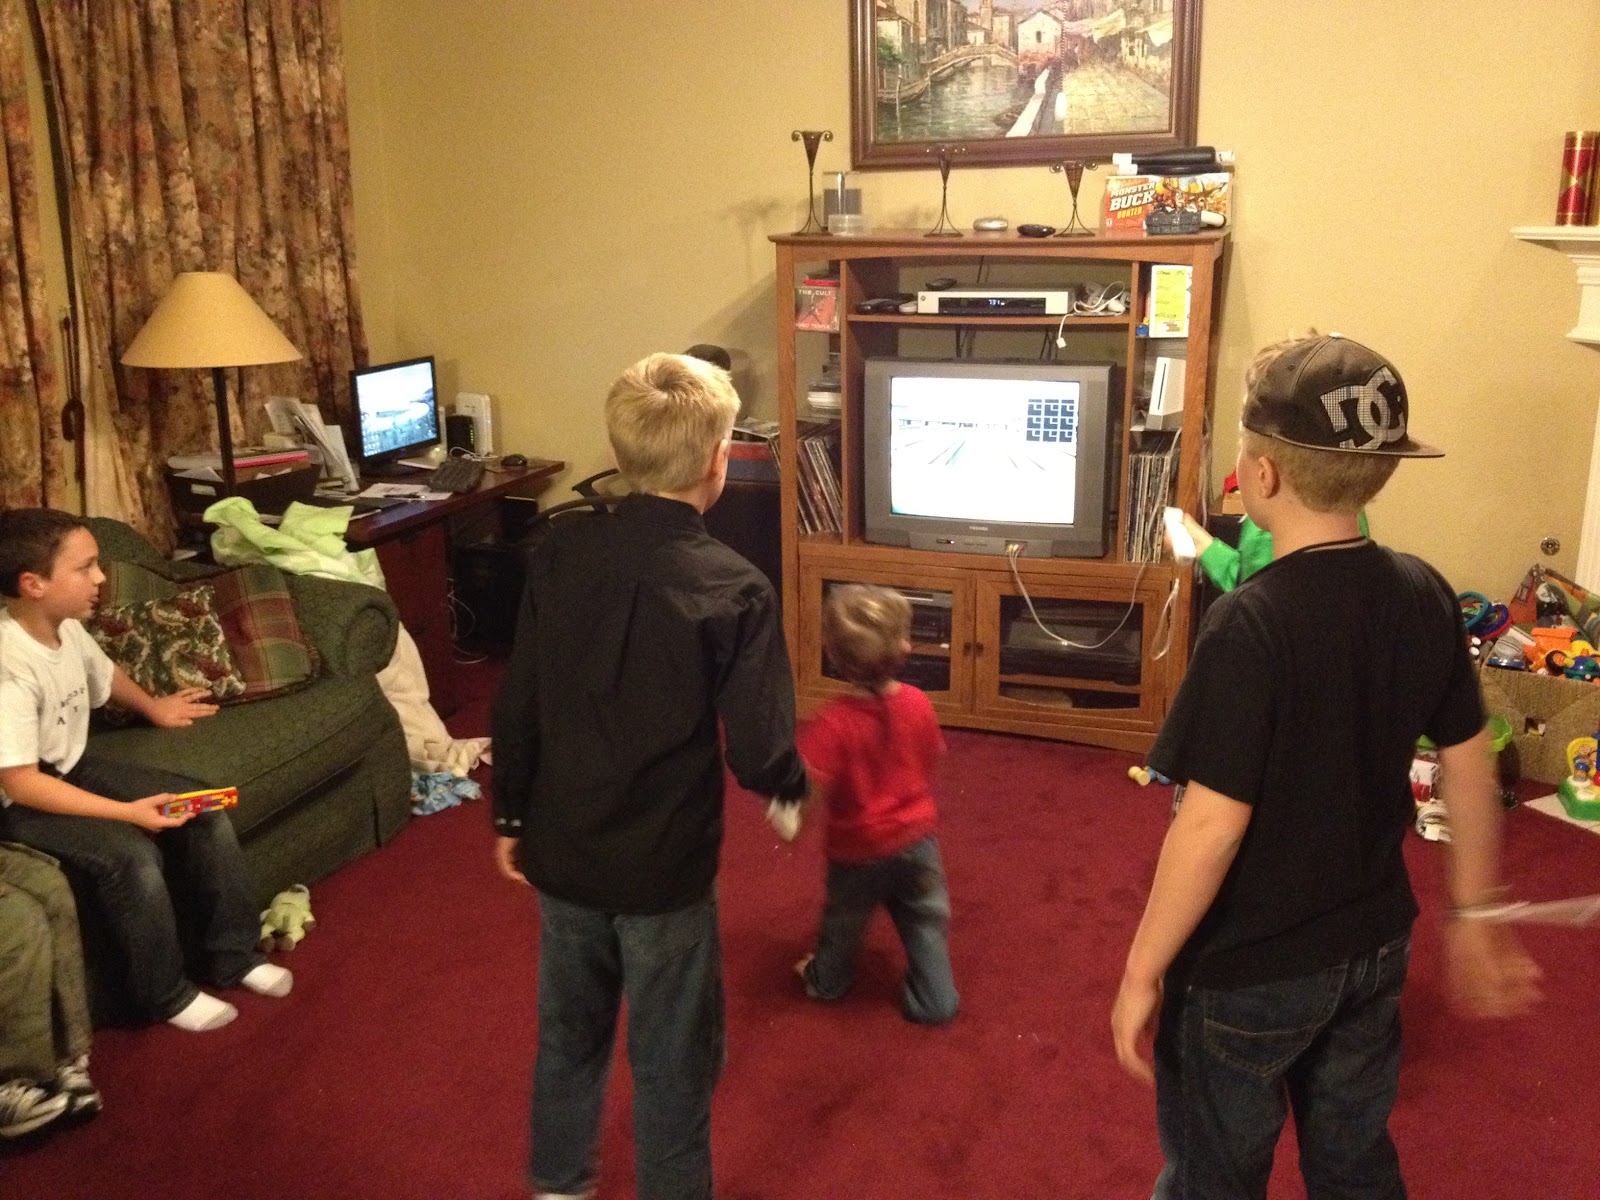
Oh yeah and the boys played Wii most of the night.


Stay connected with Pounds4Pennies on Facebook or join me at Pounds4Pennies on BlogFrog community for more great savings.  

Wednesday, February 1, 2012

Whatever Wednesday - Homemade Pizza Rolls

When I asked my stepson what he wanted to eat for his birthday party, he told me pizza. I am not the type that wants to do just boring pizza. So I started thinking. Then I remembered Double Daves, a pizza place here in Texas. They serve their own version of pizza rolls. These are the best thing I have ever had. After a little bit of research I found a recipe as a guide for homemade pizza rolls, since this recipe was basic and used more processed ingredients than I wanted to use, I made own version of homemade pizza rolls. I made my own pizza dough from scratch using my bread machine. Overall these are pretty easy to make, but a little time consuming.

This takes a little timing if you are doing this for a party. To make sure the pizza roll dough is ready in time and the rolls will be ready when the guests arrive. This recipe makes enough to put two batches on a pizza stone.

 Homemade Pizza Rolls

First make a 2 pound batch of pizza dough using a bread machines recipe, or the largest amount of dough you can make. Add two cloves of minced garlic and a teaspoon of Italian seasoning to add a little flavor to the dough for the rolls. You can adjust to what you like.


Preheat the oven to 400. Cut the dough in half. Then sprinkle some flour on your surface to roll out half of your dough for the pizza rolls.

Start working one half of the the dough into a round shape. This may take a while. Try stretching it in your hands if using a rolling pin proves difficult.

Make about a 12-14in circle. Just like pizza.

With a pizza cutter or sharp knife cut into eight pieces for eight pizza rolls.


Starting at the large end of the dough, place 4-6 slices of pepperoni at the end and put a piece of mozzarella on top. It can be sliced, block or shredded. Since, these are homemade you can fill these pizza rolls with whatever you want. I am traditional and love pepperoni.


Fold the sides over onto itself and stretch the back over the cheese and pepperoni and roll. Stretch the dough as you roll to the point to form a tight seal, so the cheese won’t leak out. It is ok if it does. Do the same for the other half of the dough.


You can spray the homemade pizza rolls with your MISTO spray bottle filled with olive oil and place them on a cookie sheet or pizza stone and cook in the oven on 400 for 15-20 min. The oil will provide a nice brown coating on the outside of the rolls.


Serve these homemade pizza rolls with warmed pasta sauce or ranch dressing for dipping. Very yummy.
~   ~   ~
I was able to time it where I pulled out the last batch of homemade pizza rolls right before the first guest arrived and kept them in the oven on warm until everyone arrived. Then we ate hot homemade pizza rolls. I am going to make another batch using whole wheat flour and keep them in the freezer. When the kids want a quick snack or I don’t feel like cooking lunch, we can just pop them in the microwave and serve. Let me know if you make these. I know you will be hooked. 

Stay connected with Pounds4Pennies on Facebook or join me at Pounds4Pennies on BlogFrog community for more great savings.  

Wednesday, November 2, 2011

Whatever Wednesday - Popcorn Cake

I know some of you have been wanting to know how to make the fabulous Popcorn Cakemade for my daughters 10th birthday movie party. Today I am going to share the simple instructions on how you can make this cake on your own for a Movie Party or Popcorn Birthday Party. You can see the other decorations I used for her Movie Party.


Popcorn Cake
Movie Party Ideas

1. First I started by baking two cakes. One butter and one chocolate. Click to print Betty Crocker cake and icing couponsYou can decide based on what you already have in your pantry. I think butter is the best tasting cake. Let’s face it, it’s cake who is counting calories anyway. I used two 9" cake pans for each cake. To make sure they have the same amount of batter in each pan, use an ice cream scoop and alternate between pans. The cakes will come out even. 

2. After I baked the cakes, I took them out of the oven and let them chill for 10 min. I inverted them on a cooling rack, then set them to cool in the fridge. If I have time I chill them over night. Otherwise it is best to let them sit for at least two hours in the fridge to cool.

3. I cut the tops off the cakes with a serrated knife to even them out. I just eye balled it, but if you have a cake leveler, then use that. Since, I never throw anything out. I kept the leftover cake to bribe little face when he goes on the potty. It worked great. We are almost there!

4. Then I stacked the cake layers alternating butter and chocolate onto a round cake pan. In between each layer I placed a small amount of icing to glue them together. Next is the hardest part of the whole cake. I placed my serrated knife at an angle and cut turning the cake stand to keep the knife at the same angle around the entire cake to make the Popcorn bowl shape for the cake.  Wipe gently to remove any remaining crumbs around the edge and wipe your cake stand free of crumbs. Again you can discard the cake, but that is a crime in my house. I mean it is cake! When you are done this should resemble a Popcorn Bowl.

5. I used nearly an entire can of icing on the outside of the cake with a cake knife. Be a little generous here. You want to capture all the crumbs in this layer of icing. Place in the fridge for about 10 min or more.This is the crumb coat. Don’t worry about all the little chocolate flakes you see in the icing. They will disappear in the next coat. A cake knife is a great purchase if you plan on making cakes. Spreads icing like a dream. 

6. Yes you will need another tub of icing. I used nearly ¾ a tub icing the next layer. This will make all those crumbs disappear. Generously spread icing over the cake again. Now you should have a white cake.


7. This is where the magic happens. Get the strawberry Fruit by the foot. I opened every package until I found the one with the straight lines. Then I measured the cake from the stand to the top. I cut many strips to this length. To create the smaller lines, I cut one strand in half lengthwise.  Start placing them on the Popcorn cake. Two small lines then one thick one, alternating in this pattern around the outside of the cake. Once finished let the kids eat the fruit roll ups this helps keep them quite while you are concentrating on the cake.


8. I took some of the icing and used a red tint to make it red. Be sure you make enough. It is difficult to get the same color. I don’t have a pastry bag, so I placed the icing in a sandwich baggie and cut a small tip and fed the icing through. This is where you can get decorative. I just used small circles at the top of the cake to cover where the fruit rollup stripes end and a straight line at the bottom with the red icing to seal it to the bottom.

9. Now what you have been dying to know is, how did you make that popcorn on top? While you are doing all the above steps, have the birthday person and extra help squeeze two small marshmallows together with their fingers until they stick. Squeeze hard. I used nearly half a bag of marshmallows. This makes awesome looking Popcorn for the top of the cake.

10. Finally I got another Ziploc bag to place all the Popcorn marshmallows in and sprinkled it with yellow decorative sugar. This made it look like buttered popcorn. Shake the bag to get the yellow sugar everywhere the marshmallows stuck together. Keep them in the bag. 


11. Cut from and extra popcorn bag or print the words "POPCORN" in red ink to make the popcorn logo. Glue it to the cake with some icing. 

12. Right before the party started I let my daughter decorate the top of the cake with the Popcorn marshmallows. The more the better. You want to do this last, otherwise you have crunchy marshmallows, instead of soft ones to eat. I normally don’t like candy on cakes, but this was just right and  tasted fabulous for her movie party.


When cutting this Popcorn Cake remember only small pieces are needed, since this is a four layer cake. This picture is one I made for a friend who also had a Movie Party and this Popcorn cake served over twenty guests. 

Please share if you make one. I would love to see your pics.

Wednesday, October 26, 2011

Whatever Wednesday - Movie Party Birthday Bash

First I wanted to say thanks for all of you who voted for me at the Top Mommy Blogs. I went from 480 to 127, and I am listed in the top five on the Frugal Living page. You can vote daily. Thanks to all my visitors!

This year my daughter turned 10. Yep she is double digits now. I can't believe it. Where did the time go? I remember she was born a little over two weeks after 9/11. I was thinking of what kind of world was I bringing her into. Things have not changed as drastically as I thought they might.


MOVIE PARTY IDEAS

She picked her party theme "A Night at the Movies." She wanted this to be a red carpet event. So I did my best to give her a fabulous Movie Party event on an extreme budget.

The Menu
We are talking eight 9-10 year old girls, so I wanted to keep the menu simple. My first thought is what do you get at the movies? Hotdogs are served at the movies. Remember the nearly 20lbs of hotdogs I purchased around memorial day? I still had some in the freezer. Then I thought nachos. My all time favorite and hers too. I purchased processed cheese for this event. One of the most expensive things for the party. I had plenty of salsa from this trip and I bought some chips. Then of course the most obvious thing at the movies popcorn. I didn't want to spend my time popping a million bags of popcorn in the microwave. I knew they could eat a ton from the last party she had. So I borrowed a hot air popper from a friend. I popped five batches of popcorn. Yes that is a lot of popcorn. Then I got all sorts of candy from CVS from their sale a couple of weeks ago and chocolate chips to mix in the popcorn purchased here.

Menu:
Hot Dogs & Buns
Nachos
Popcorn
Candy
Chocolate Chips
Popcorn Cake

By the way the plain chocolate chips were a big hit. Who knew? Hint hint if you are throwing a party soon, chocolate chips are cheaper than candy.


And of course, since it is a birthday party you will need a cake. I didn’t feel like buying one from the store. So I decided to make one instead. It is a Popcorn cake. Click the link to see how to make this fabulous cake. Super cute. I even made a Popcorn Cake of these for a friend who had a Movie Party.
 
She enjoyed putting the "popcorn" on the cake.

Decorations
I purchased a generic silver star set from the party store last year. I choose this since it would go with a lot of party themes and not be a one time purchase. We just recycled these and hung them around the house. I found a cheap red carpet at the party store we place outside our door. I colored large yellow stars with sidewalk chalk in front of the house to make it look like the Hollywood walk of Fame. (If I had a little more time I was going to write the girls name who were attending the party in the stars).


 I made her  a banner for her birthday. Her name is at the end, I do not want to share it to protect her identity. She loved it.


I found the popcorn buckets at Target for $1.00 each. And the paper ones at hobby lobby for 8 for $2.49. I couldn't find my coupon or it would have been cheaper. They made their popcorn buckets and filled them with candy and popcorn and everything. I didn't care what they ate as long as they had a great time.


For the table I used a red table cloth. I covered my cake dish with black tissue paper for the stand where the popcorn gift bags were. I also covered a bowl with black tissue paper to place the Popcorn cake on. I thought it looked fabulous for a movie party idea.

Entertainment
My husband borrowed the projector from his work and we hooked it up outside and put a large white sheet on the back of the house. He used a staple gun to tack it up. It looked great. I spread several blankets outside on the lawn where they could lay down eat popcorn and watch the movie. (not too much movie watching happened) They even had a popcorn fight and I didn't care since all of this was outside. I just picked up the blankets shook them off and I was done with clean up. Super easy.

Everyone had a great time! This was fun for me too, since most of the party took place outside I didn’t have a lot to clean up inside.
Related Posts Plugin for WordPress, Blogger... Affiliate links may be used in the above post. I may be compensated for clicking links listed above.